WooCommerce Fraud Prevention: Setup Guide for FraudShield
A full setup walkthrough for FraudShield, the WooCommerce fraud detection plugin built on the IPGeolocation.io API. Install to first protected order in under 20 minutes.

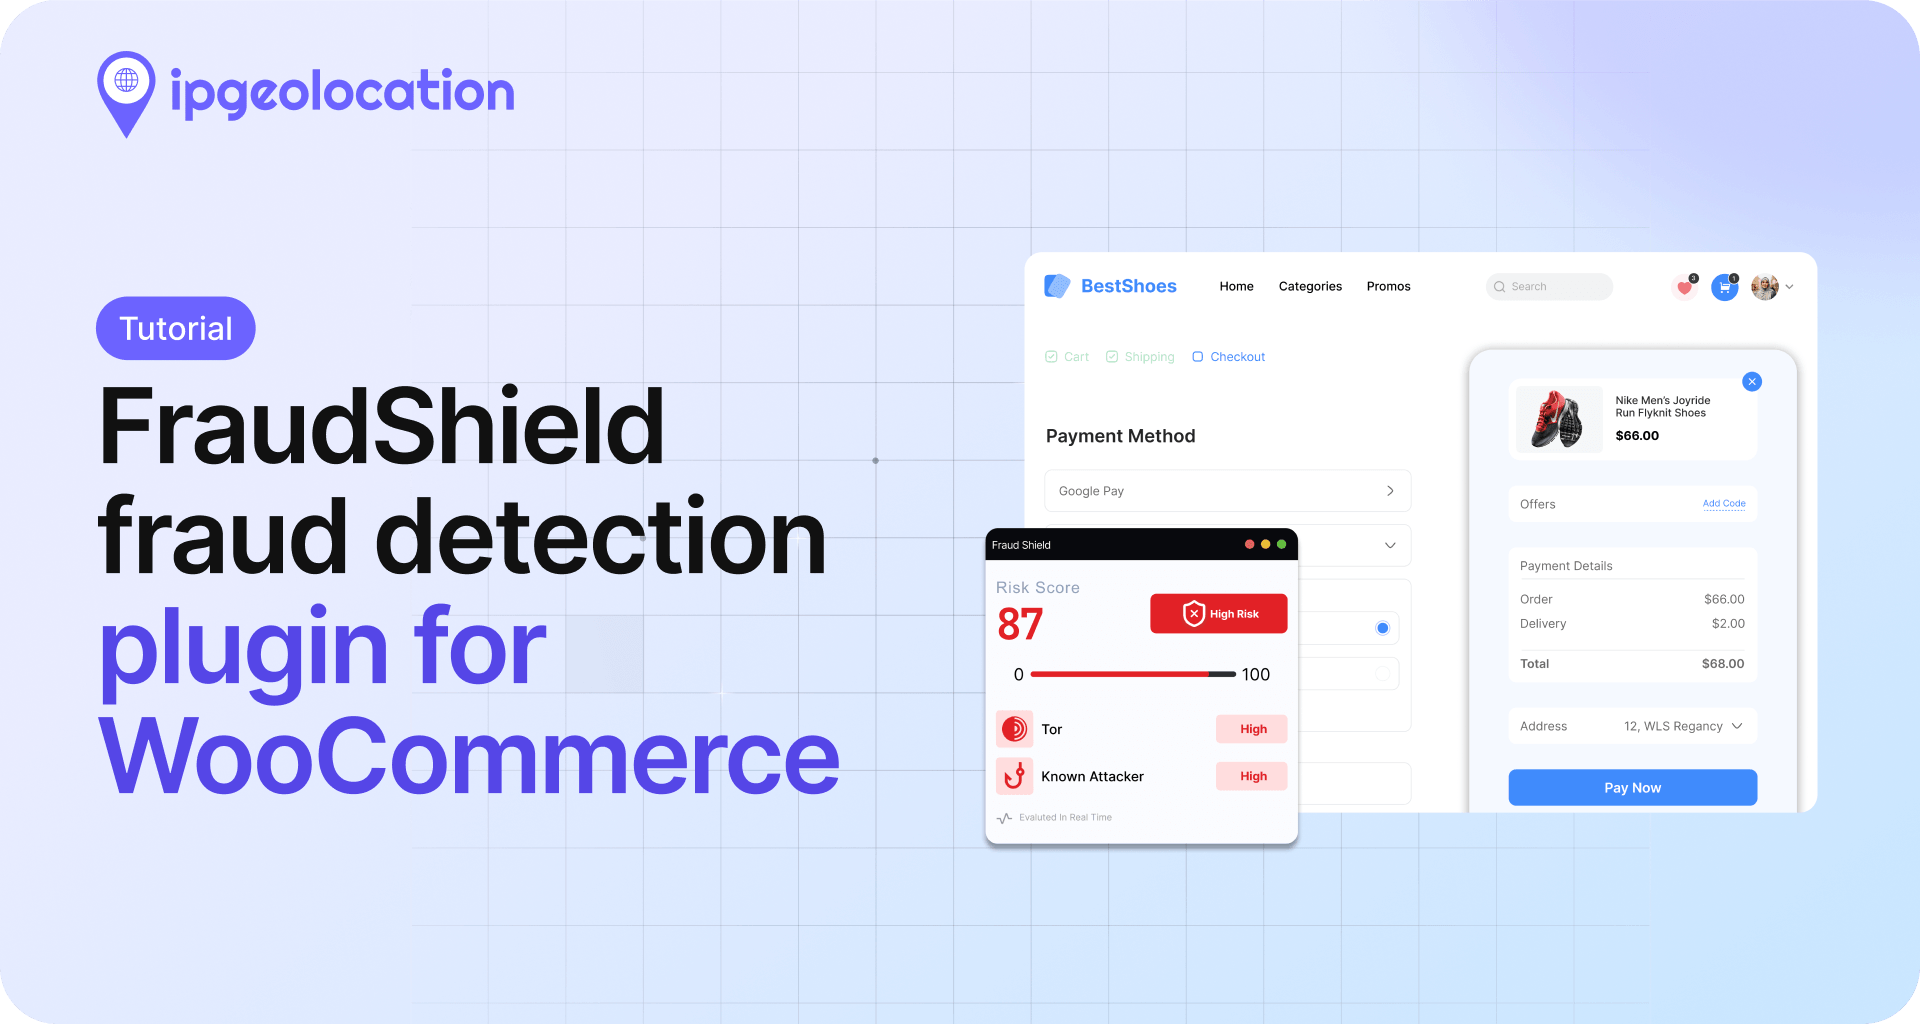
WooCommerce fraud prevention helps merchants identify suspicious orders before they are fulfilled. FraudShield is a WooCommerce fraud detection plugin that checks the IP address associated with an order using the IPGeolocation.io API. It evaluates available security signals, calculates a risk score, and can flag the order, send an alert, or change its status based on your configuration. FraudShield performs its check after the order is created, not before the payment reaches the gateway.
This tutorial walks through setup from install to first scored order. Roughly 20 minutes if you already have a paid IPGeolocation.io account. If not, the first five go toward creating one.
TL;DR
- What FraudShield does: Checks the IP associated with a WooCommerce order against available security signals, calculates a risk score, and can flag the order, send an alert, or change its status.
- What you need: WooCommerce 7.0+ on WordPress 6.0+, an IPGeolocation.io account on a paid plan, admin access to your site.
- Setup time: Around 20 minutes.
- The 9 signals: Country mismatch, VPN, Tor exit node, proxy, residential proxy, known attacker IP, bot traffic, spam source, cloud / datacenter IP.
- Available actions: Depending on your configuration, FraudShield can send email alerts, hold orders, cancel eligible orders, or flag orders for review.
FraudShield checks the IP associated with a WooCommerce order and can flag the order, send an alert, or change its status. It does not block the payment attempt before it reaches the payment gateway. An online payment may already have been processed when the check runs.
How FraudShield handles WooCommerce fraud prevention
The IP address associated with an order provides useful information for identifying potentially suspicious activity. FraudShield uses this information to evaluate security signals and calculate an order risk score. The check runs after the order is created, so it helps merchants identify and manage suspicious orders rather than prevent payment attempts from reaching the gateway.
FraudShield sends the IP associated with the order to the IPGeolocation.io API, which returns geolocation and security signals. FraudShield combines the available security signals with the order's billing country to calculate its own risk score from 0 to 100.
- Weighted: FraudShield calculates the score using the total weight of flagged enabled signals divided by the total weight of all enabled signals, multiplied by 100. The result is rounded and clamped to the 0–100 range.
- Critical override: If any enabled signal marked as critical is triggered, FraudShield sets the score directly to 100 and runs the configured high-risk action
Example: With all nine default signals enabled, the total weight is 260. If only VPN detection is triggered, its weight of 30 produces a score of 12:round(100 × 30 ÷ 260) = 12
If the VPN signal is marked as critical, the score becomes 100 regardless of the weighted calculation.
This is the core of IP fraud detection for WooCommerce: a transparent score you can inspect, with weights you can tune. Most fraud tools hand you a closed ML score with no way to see why an order was flagged. FraudShield exposes every signal, every weight, and every decision. You can adjust what fits your store.

Before you start
You will need:
- WooCommerce 7.0 or newer on WordPress 6.0 or newer.
- An IPGeolocation.io account on a paid plan. A paid API key is required, as the plugin depends on security signals (VPN, Tor, proxy connection, residential proxy, known attacker, bot, spam, cloud/datacenter IP) not included in the free tier. On a free key the API rejects the plugin's request, so no checks run, not even country mismatch.
- Admin access to your WordPress site.
- About 20 minutes of uninterrupted time.
You do not need to touch code. Everything happens inside the WooCommerce admin.
Step 1: Install FraudShield
Open your WordPress dashboard. Go to Plugins > Add Plugin. Search for "IPGeolocation FraudShield". Click Install, then Activate.
Once active, you will see FraudShield in the WordPress admin menu and a Settings submenu underneath. Head there next.
Step 2: Connect your IPGeolocation.io API key
FraudShield does not ship its own fraud database. It relies on the IPGeolocation.io IP Geolocation API for every check. A paid API key is required, as the plugin depends on security signals not included in the free tier.
- Sign up at IPGeolocation.io and subscribe to a paid plan. Security signals are only available on paid tiers.
- From your account dashboard, copy your API key.
- Back in WordPress, go to FraudShield > Settings > API.
- Paste the key into the API Key field.
- Click Test key.
If the test succeeds, you will see a green result reading API key is valid. If it fails, the exact error returned by the API is displayed below the button (invalid key, expired subscription, or a plan-level restriction), so you know what to fix without guessing.
All paid API tiers provide the same security signals. Choose a tier based on the credit allowance your store needs; the pricing page lists each tier's credits.
A free API key will not work for FraudShield. The plugin requests the security module on every order check, and the API rejects that request on a free key, so the check fails and the order gets a "Fraud check failed" note instead of a risk score.
Click Save Settings before leaving this screen. The API key must be saved before FraudShield can use it. Without a saved key, the plugin skips the fraud check and records that the key is missing.
Step 3: Configure the 9 fraud signals
This is the section where the plugin's behavior gets decided. Each signal has three controls:
- Enable / disable: Turn the signal on or off.
- Weight: How much this signal contributes to the 0 to 100 risk score.
- Critical: If marked, this signal alone pushes the score to 100 and fires the high-risk action.
Here is the full signal reference with defaults and tuning notes from real store testing.
| Signal | What it catches | Default weight | Good critical candidate? |
|---|---|---|---|
| Country mismatch | Buyer's IP country differs from billing country | 25 | No. False positives on travelers and expats. |
| VPN detected | IP matches a commercial VPN exit | 30 | Optional. Depends on your product. |
| Tor exit node | Request routed through Tor | 40 | Yes for most stores. |
| Proxy detected | Known proxy server | 30 | Optional. |
| Residential proxy | Proxy masking as a home internet connection | 20 | No. Hard to distinguish from real residential traffic. |
| Known attacker IP | IP flagged in threat intelligence feeds | 45 | Yes. |
| Bot traffic | Automated or non-human request | 35 | Optional. |
| Spam source | IP tied to a spam campaign history | 20 | No. Historical signal, not fresh fraud. |
| Cloud / datacenter IP | AWS, GCP, Azure, or similar hosting | 15 | No. Too many false positives on mobile tethering and corporate proxies. |
A few notes on tuning:
- The VPN and proxy detection signals are your most useful signals for flagging suspicious orders. Keep them on at default weights.
- Residential proxy detection is the hardest to tune. Residential proxies share IP space with legitimate home broadband. Start at the default weight of 20 and raise it only if you see chargebacks you can trace back to this signal.
- Do not mark Cloud / datacenter IP as critical. Mobile carriers and corporate networks occasionally route through cloud infrastructure, and blocking all of them will take real customers off your site.
- Mark Tor exit node as critical unless you actively sell to privacy-focused buyers. Legitimate shoppers rarely use Tor.
If your store has a known risk pattern, adjust the weights accordingly. Digital goods (software licenses, gift cards, downloadable content) usually want Tor and residential proxy weights higher because chargebacks arrive fast and reversals are hard.
Click Save Settings at the bottom of the signals panel. Weights, toggles, and critical flags only take effect once saved. Leaving the screen with unsaved changes reverts everything to the previous configuration.
Step 4: Set risk thresholds and actions
Once the risk score is calculated, FraudShield compares it with your thresholds and applies the configured action.
FraudShield version 1.0.0 uses the following score bands:
- Low: 0–40
- Medium: 41–70
- High: 71–100
In Risk Thresholds, configure the following settings:
- Email alert at score ≥: Sets the minimum score at which an email alert is sent.
- Auto-action at score ≥: Sets the minimum score at which the configured high-risk action is triggered.
- High-risk action: Choose one of the following options:
- Hold order for review
- Auto-cancel order
- Flag only (no status change)
Cancel automatically cancels Cash on Delivery orders. For online payments, FraudShield places the order on hold instead. Review the payment and issue any required refund through the order screen.
The email threshold controls notifications separately from the automatic order action. These thresholds determine when actions are triggered; they do not change the displayed Low, Medium, and High score bands.
If a signal marked as critical is triggered, FraudShield sets the score to 100 and applies the configured high-risk action.
Configure SMTP before relying on email alerts. WordPress's built-in mail function is unreliable on most hosts and often lands in spam or fails silently. Install an SMTP plugin (WP Mail SMTP, Fluent SMTP, or similar) and connect it to a transactional sender (Postmark, SendGrid, Amazon SES, or your existing email service) before turning on email alerts. Without SMTP, "email" actions look configured in FraudShield but fail to deliver, and you will not know your fraud notifications are being lost.
Click Save Settings to apply your configuration. Unsaved changes will not take effect, and FraudShield will continue using the previously saved settings.
When to tighten the thresholds. Digital goods fulfill fast and chargebacks land fast, so lower the Email alert and Auto-action thresholds for them. Physical goods have a buffer because the order can still be intercepted at the shipping step, so you can keep the thresholds higher.
Step 5: Test without placing real orders
Before enabling FraudShield on a live store, test its configuration using a staging environment with a sandbox payment gateway.
Follow these steps:
- Go to FraudShield > Settings > Test Mode.
- Enable Test Mode.
- Enter a test IP address or select one of the available Quick preset buttons:
- Tor exit
- VPN/Proxy
- Residential Proxy
- Google DNS
- Click Save Settings.
- Create a test order using your staging store and sandbox payment gateway.
- Open the order in WooCommerce and inspect the FraudShield metabox.
Check that the displayed risk score, detected signals, and resulting order action match your expectations.
Important: Test Mode changes the IP address used for scoring. It does not disable payment processing or prevent normal order actions. Use a staging store with a sandbox payment gateway when testing.
Once testing is complete:
- Disable Test Mode.
- Click Save Settings.
- Place a test order and confirm that FraudShield uses the actual customer IP rather than the test IP.
Always verify that Test Mode is disabled and the setting has been saved before processing live orders.
Step 6: Monitor orders and tune over time
Fraud patterns shift. What worked in month 1 will underperform in month 6 as attackers adapt. FraudShield gives you four surfaces to track and tune:
- Dashboard: 30-day rolling view. Stacked bar by day, donut by tier, recent 10 flagged orders. Quick read on whether fraud volume is climbing.
- Fraud Logs: Full history with filters by tier, date range, signal, and search by IP or order number. Use this to investigate a single chargeback or look for patterns across flagged orders.
- Orders list column: A color-coded risk score column added to the main WooCommerce Orders screen. Red for High, amber for Medium, green for Low.
- Order metabox: On every order edit screen, a sidebar widget shows the score, the flagged signals, the tier, and a re-check button. The re-check is useful if a customer's IP has changed between the order and the review.
Tuning loop: if false positives spike on one signal, lower its weight or disable it. If chargebacks still slip through, lower the Auto-action threshold for stricter filtering, or promote a signal to critical. Review the logs at least monthly if your store takes more than 100 orders a day. Weekly if you are in a high-fraud category like digital goods or subscriptions.
FAQ
Does FraudShield slow down my WooCommerce checkout?
FraudShield makes an API request to IPGeolocation.io when performing an order check. The request has a timeout of up to eight seconds. Actual response time depends on API availability and network conditions, so checkout performance may vary. We do not guarantee that the check will complete within a specific time.
Do I need a paid IPGeolocation.io plan?
Yes. FraudShield requests the security module with every order check, and that module is available on paid plans only. On a free key the API rejects the request, so every check fails and no risk score is assigned, not even for country mismatch. See the pricing page for which signals come with each tier.
Which signal causes the most false positives?
Country mismatch. A traveler on a work trip, an expat ordering from their home country, or a customer on a corporate VPN based overseas will all trigger it. Keep the weight at the default (25) and never mark country mismatch as critical. This is where most first-time tuning mistakes happen.
What happens if IPGeolocation.io is unreachable?
If the API request fails, FraudShield records the failed check and adds an order note. It does not assign a new risk score or apply a risk action for that failed check. Version 1.0.0 has no setting to block orders automatically when the API is unavailable. Review failed checks separately from low-risk results.
Can FraudShield stop card testing attacks?
FraudShield can flag suspicious orders for review based on IP-related security signals such as VPN, proxy, Tor, and known-attacker detection. However, version 1.0.0 is not a pre-payment card-testing blocker. It does not prevent repeated payment attempts from reaching your payment gateway. To stop card-testing attempts, use checkout and payment-gateway controls designed to detect and restrict repeated payment attempts.
How does FraudShield compare to other WooCommerce fraud prevention plugins?
WooCommerce fraud plugins typically fall into two categories: closed-box ML scores you cannot tune, and velocity rules that look at payment patterns rather than the buyer's IP. FraudShield is a third option: transparent IP-layer scoring with weights and critical flags you control directly. See our guide on evaluating VPN and proxy detection APIs for a fuller look at IP-layer options.
What to do next
Start by testing FraudShield on a staging store. For an initial live review period, choose Flag only (no status change) to avoid automatic order status changes. Configure the email alert threshold deliberately and monitor flagged orders to understand which signals are being triggered and whether they match your store's fraud patterns. Review the results before enabling automatic order holds or cancellations.
At the end of the week, open the Fraud Logs. Note any false positives (legitimate orders flagged) and adjust the weights down. Once tuned, High-tier hits should be rare. If legitimate orders often score High, review the enabled signals, their weights, and any critical overrides. If too many orders trigger an automatic action, review the Auto-action threshold separately; changing it does not change an order's score or risk band.
This approach helps you identify suspicious WooCommerce orders and review potential fraud before fulfillment. FraudShield provides IP-based security signals and configurable order actions to support your fraud review process. For additional information, visit the IPGeolocation.io documentation hub.